Mercedes Sedan Sound System: The Ultimate Upgrade Guide
Want a concert hall in your Mercedes? This guide shows you how to get the absolute best sound from your Mercedes sedan’s audio system. From simple tweaks to full upgrades, we’ll walk you through it.
The sound system in your Mercedes-Benz sedan is more than just an entertainment source; it’s an integral part of the luxury driving experience. However, many owners find themselves wanting more from their factory setup. Whether it’s a lack of bass, muddy mids, or simply not enough clarity, upgrading your sound system can dramatically improve your time on the road. This guide will walk you through everything you need to know, from understanding your current system to selecting and installing the perfect upgrades.
Ready to turn your Mercedes into a rolling symphony? Let’s dive in!
Understanding Your Factory Mercedes Sound System

Before you start planning upgrades, it’s essential to understand what you’re currently working with. Mercedes-Benz offers several different sound system options, each with varying capabilities.
Common Factory Systems
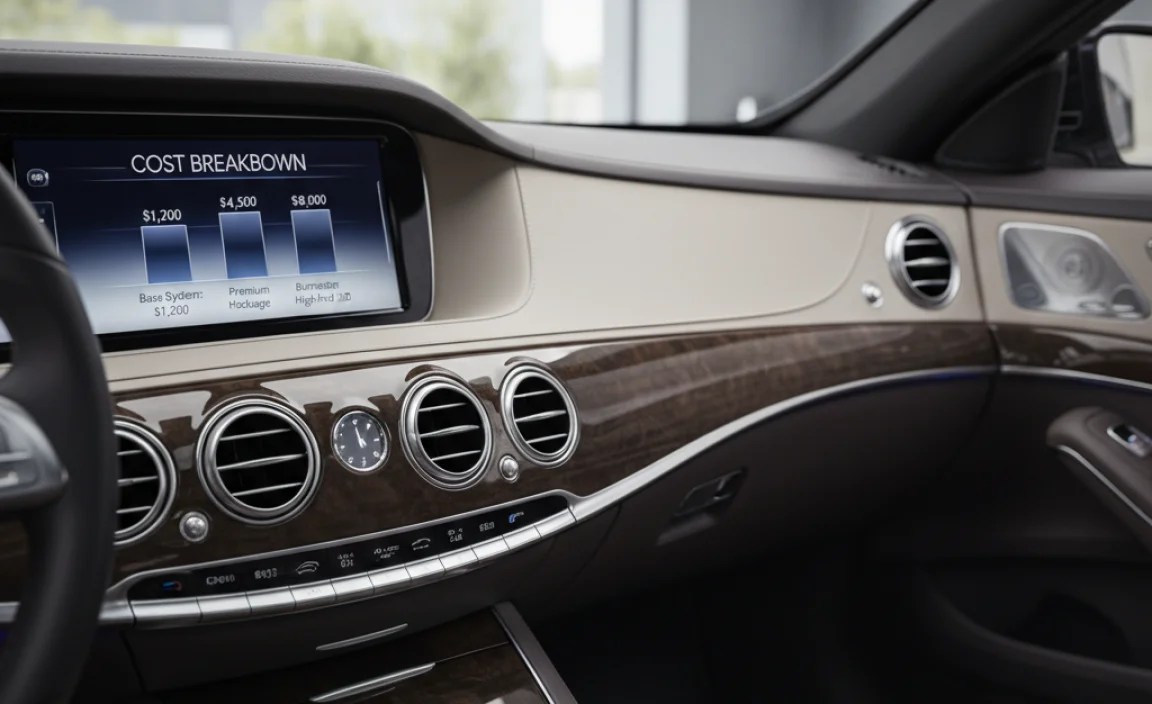
- Base Audio System: Typically found in entry-level models, this system usually includes a standard head unit, a set of speakers in the front and rear doors, and sometimes a basic amplifier.
- Burmester Surround Sound System: A popular upgrade option, the Burmester system offers a significant step up in sound quality with more speakers, a more powerful amplifier, and advanced sound processing.
- Burmester High-End 3D Surround Sound System: The top-of-the-line option, this system includes even more speakers, an even more powerful amplifier, and advanced features like 3D surround sound and speaker-specific amplification.
To identify your system, check your vehicle’s original window sticker or build sheet. You can also look for branding on the speaker grilles or consult your owner’s manual.
Limitations of Factory Systems
Even the upgraded Burmester systems can have limitations. Common complaints include:
- Lack of Bass: Many owners find the bass response lacking, especially at higher volumes.
- Muddy Mids: The midrange frequencies can sometimes sound muddy or undefined.
- Lack of Clarity: High frequencies may lack clarity and detail.
- Limited Customization: Factory systems often offer limited customization options.
Assessing Your Needs and Goals

Before you start buying new components, take some time to assess your needs and goals. What are you hoping to achieve with your upgrade? Do you want more bass, better clarity, or a more immersive soundstage? Consider the following questions:
- What type of music do you listen to? Different genres require different sound characteristics.
- How loud do you typically listen to music? This will influence the power requirements of your system.
- What is your budget? Upgrading a sound system can range from a few hundred dollars to several thousand.
- Are you comfortable with DIY installation, or will you need professional help?
Step-by-Step Upgrade Options

Now, let’s look at some specific upgrade options, starting with the simplest and most affordable.
1. Speaker Replacement
Replacing your factory speakers is often the most effective way to improve sound quality. Aftermarket speakers typically use higher-quality materials and designs, resulting in better clarity, detail, and overall performance.
Selecting Speakers
When choosing speakers, consider the following factors:
- Size: Make sure the speakers are the correct size for your vehicle. Consult a car audio specialist or online database for fitment information.
- Type: Component speakers (separate woofers and tweeters) generally offer better sound quality than coaxial speakers (combined woofers and tweeters).
- Sensitivity: Higher sensitivity speakers require less power to produce the same volume level.
- Power Handling: Choose speakers that can handle the power output of your amplifier (or head unit).
Installation
Speaker installation is a relatively straightforward process, but it does require some basic tools and knowledge. Here’s a general overview:
- Disconnect the battery: This is a crucial safety step.
- Remove the door panels: Use a panel removal tool to carefully pry off the door panels.
- Remove the factory speakers: Unscrew or unclip the factory speakers and disconnect the wiring.
- Install the new speakers: Connect the new speakers to the factory wiring (you may need adapter harnesses) and screw them into place.
- Reinstall the door panels: Carefully snap the door panels back into place.
- Reconnect the battery:
Tools You’ll Need:
- Panel removal tools
- Screwdrivers (Phillips and flathead)
- Socket set
- Wire stripper/crimper
- Wire connectors or solder
- Multimeter (optional, for testing)
2. Adding an Amplifier
An aftermarket amplifier can significantly boost the power and clarity of your sound system. It provides more power to the speakers, resulting in louder, cleaner sound.
Selecting an Amplifier
When choosing an amplifier, consider the following factors:
- Number of Channels: Choose an amplifier with enough channels to power all of your speakers.
- Power Output: Match the amplifier’s power output to the power handling of your speakers.
- Class: Class D amplifiers are more efficient and generate less heat than Class A/B amplifiers.
Installation
Amplifier installation is a bit more complex than speaker installation, as it involves running power and signal wires. Here’s a general overview:
- Disconnect the battery:
- Mount the amplifier: Choose a location that is well-ventilated and easily accessible.
- Run the power wire: Run a thick gauge power wire from the battery to the amplifier. Be sure to install a fuse near the battery.
- Run the ground wire: Connect the amplifier to a solid ground point in the vehicle.
- Run the signal wires: Run RCA cables from the head unit to the amplifier.
- Connect the speaker wires: Connect the amplifier to the speakers using speaker wire.
- Reconnect the battery:
Tools You’ll Need:
- All tools mentioned above for speaker installation
- Drill (for mounting amplifier)
- Wire fish tape (for running wires)
- Fuse holder and fuse
- Ring terminals
3. Adding a Subwoofer
A subwoofer is essential for adding deep, powerful bass to your sound system. It handles the low-frequency sounds that most speakers can’t reproduce.
Selecting a Subwoofer
When choosing a subwoofer, consider the following factors:
- Size: Larger subwoofers generally produce deeper bass.
- Type: Sealed enclosures offer tighter, more accurate bass, while ported enclosures offer louder, more boomy bass.
- Power Handling: Match the subwoofer’s power handling to the power output of your amplifier.
Installation
Subwoofer installation involves connecting the subwoofer to an amplifier and mounting it in an enclosure. Here’s a general overview:
- Connect the subwoofer to the amplifier: Use speaker wire to connect the subwoofer to the amplifier.
- Mount the subwoofer in the enclosure: Secure the subwoofer in the enclosure using screws.
- Place the enclosure in the vehicle: Choose a location that is out of the way but still allows the subwoofer to breathe.
Tools You’ll Need:
- All tools mentioned above for amplifier installation
- Subwoofer enclosure
- Screws
4. Upgrading the Head Unit
Upgrading the head unit (the main unit in your dashboard) can unlock a wealth of new features and improve sound quality. Aftermarket head units often offer more powerful processors, better DACs (digital-to-analog converters), and more customization options.
Selecting a Head Unit
When choosing a head unit, consider the following factors:
- Features: Look for features like Apple CarPlay, Android Auto, Bluetooth connectivity, and navigation.
- Sound Quality: Choose a head unit with a high-quality DAC and preamp outputs.
- Ease of Use: Consider the user interface and how easy it is to navigate.
Installation
Head unit installation can be complex, as it involves connecting a variety of wires and integrating the head unit with the vehicle’s electrical system. It’s often best to have this done professionally.
Tools You’ll Need:
- All tools mentioned above
- Wiring harness adapter (specific to your Mercedes model)
- Mounting kit (specific to your Mercedes model)
Specific Considerations for Mercedes Sedans

Mercedes-Benz vehicles often have unique challenges and considerations when it comes to sound system upgrades.
Fiber Optic Systems
Some Mercedes models use a fiber optic audio system (also known as MOST – Media Oriented Systems Transport). These systems transmit audio signals digitally over fiber optic cables, which can make upgrading the head unit or amplifier more complex. You may need to use a special adapter or interface to integrate aftermarket components.
Integrated Electronics
Many Mercedes vehicles have integrated electronics, meaning that the audio system is tied into other vehicle systems, such as the navigation, climate control, and driver assistance features. Upgrading the head unit may affect the functionality of these other systems. Be sure to research compatibility before making any changes.
Acoustics
Mercedes-Benz vehicles are generally well-insulated and have good acoustics. However, some models may benefit from additional sound deadening material to reduce road noise and improve sound quality.
Cost Breakdown
Here’s a general estimate of the costs associated with each upgrade option:
| Upgrade | Estimated Cost |
|---|---|
| Speaker Replacement | $200 – $1000+ |
| Amplifier Addition | $300 – $1500+ |
| Subwoofer Addition | $200 – $1000+ |
| Head Unit Upgrade | $300 – $2000+ |
| Professional Installation | $100 – $500+ per component |
DIY vs. Professional Installation
Deciding whether to install your sound system upgrades yourself or hire a professional is a personal decision. DIY installation can save you money, but it also requires time, patience, and technical skills. Professional installation ensures that the job is done correctly and can also provide warranty coverage.
DIY Pros:
- Cost savings
- Sense of accomplishment
- Greater understanding of your vehicle
DIY Cons:
- Time-consuming
- Requires technical skills
- Potential for mistakes
- No warranty coverage
Professional Installation Pros:
- Guaranteed quality
- Warranty coverage
- Saves time and effort
Professional Installation Cons:
- Higher cost
- Requires finding a reputable installer
Maintaining Your Upgraded Sound System
Once you’ve upgraded your sound system, it’s important to maintain it properly to ensure its longevity and performance.
- Clean your speakers regularly: Use a soft brush or vacuum to remove dust and debris from the speaker grilles.
- Avoid extreme volume levels: Playing music too loud can damage your speakers and amplifier.
- Protect your equipment from the elements: Avoid exposing your sound system to extreme temperatures or moisture.
- Check your wiring periodically: Make sure all connections are secure and free from corrosion.
FAQ About Mercedes Sedan Sound System Upgrades
Here are some frequently asked questions about upgrading the sound system in your Mercedes sedan:
- Will upgrading my sound system void my warranty?
- Modifying your car’s factory audio system *could* void part of your warranty, specifically anything related to the audio system itself. However, it generally won’t void the entire car warranty. Check with your dealer for specifics.
- Can I just replace the speakers and keep the factory head unit?
- Yes, you can absolutely replace the speakers while keeping your factory head unit. It’s a common and effective way to improve sound quality without major modifications.
- What’s the best type of subwoofer for a Mercedes sedan?
- The “best” subwoofer depends on your preferences. Sealed enclosures provide tighter, more accurate bass, while ported enclosures offer louder, more boomy bass. Consider your music style and available space.
- How much does it cost to have a sound system professionally installed?
- Professional installation costs vary widely depending on the complexity of the job and the installer’s rates. Expect to pay anywhere from $100 to $500+ per component.
- Do I need a special adapter for a fiber optic audio system?
- Yes, if your Mercedes has a fiber optic audio system (MOST), you’ll likely need a special adapter or interface to integrate aftermarket components.
- How do I find out what kind of sound system I have?
- Check your vehicle’s original window sticker or build sheet. You can also look for branding on the speaker grilles or consult your owner’s manual.
- What is sound deadening and do I need it?
- Sound deadening material reduces road noise and vibrations, improving overall sound quality. It’s not always necessary, but it can be beneficial, especially in older vehicles or those with poor insulation.
Conclusion
Upgrading your Mercedes sedan’s sound system can dramatically improve your driving experience. By understanding your current system, assessing your needs, and following these step-by-step instructions, you can create a sound system that perfectly matches your preferences and budget. Whether you choose to tackle the project yourself or hire a professional, the result will be a more enjoyable and immersive audio experience every time you get behind the wheel. Now, go ahead and turn your Mercedes into the ultimate sound machine!
“`